
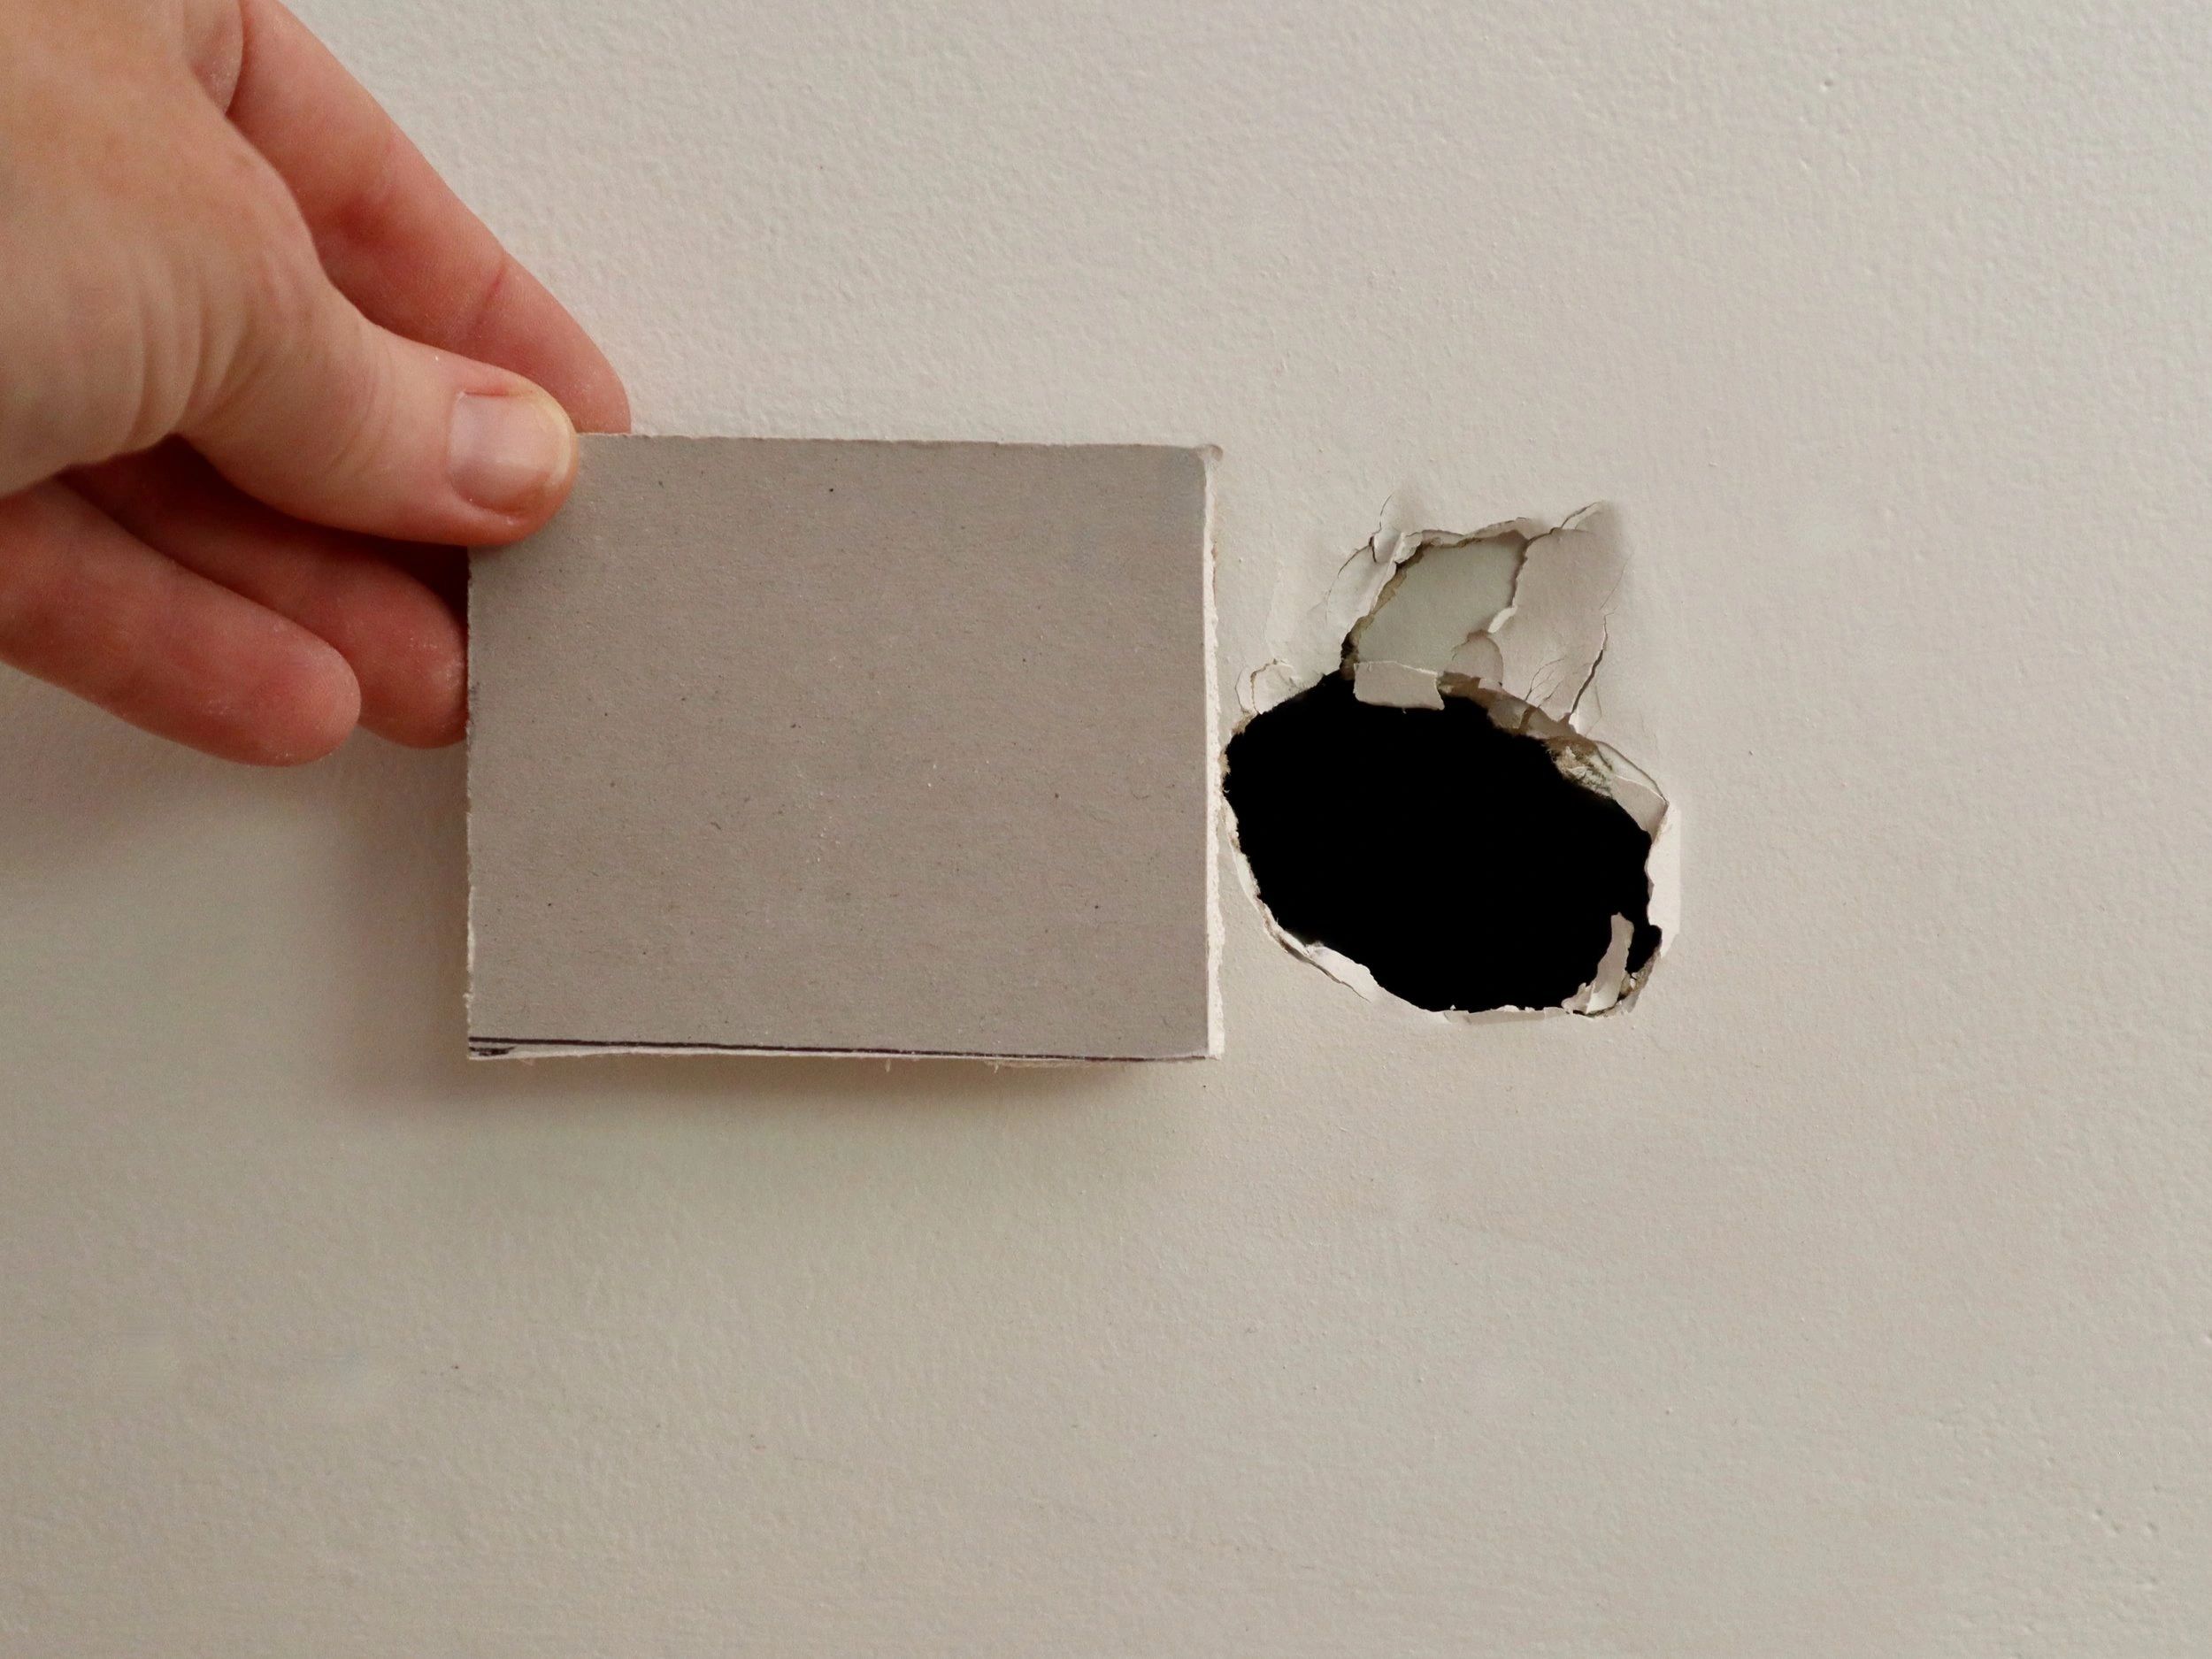
Plasterboard, also known as drywall, is an essential part of modern construction. Over time, it’s common for plasterboard to suffer from damage due to various factors such as accidental impacts, water damage, or general wear and tear. Repairing these imperfections is crucial not only for maintaining the aesthetic appeal of interiors but also for ensuring structural integrity. Plasterboard repair patches offer a convenient and effective solution for addressing these issues. This guide provides detailed insights into the process of using repair patches, equipping individuals with the knowledge needed to restore their plasterboard surfaces efficiently.
Understanding Plasterboard Repair Patches
Plasterboard repair patches are designed to provide a quick and effective solution for minor holes and cracks in drywall. They are typically made from materials that adhere well to the existing plasterboard, ensuring a smooth finish once applied. These patches come in various sizes and materials, such as fiberglass, metal, or mesh, catering to different types of damage and surfaces.
Types of Plasterboard Repair Patches
- Fiberglass Mesh Patches: These are commonly used for small to medium-sized holes. They provide flexibility and strength, allowing for an easy application.
- Metal Patches: Ideal for larger holes, metal patches offer robust support, preventing further damage and ensuring durability.
- Pre-formed Patches: These are ready-to-use patches, often with adhesive backing, designed for specific types of damage such as doorknob holes.
Steps for Applying Plasterboard Repair Patches
The process of applying repair patches is relatively straightforward, but it requires attention to detail to achieve a seamless finish. Follow these steps for a successful repair:
- Prepare the Area: Clean the damaged area and remove any loose debris to ensure proper adhesion.
- Choose the Right Patch: Select a patch that best fits the size and type of damage.
- Apply the Patch: Center the patch over the hole or crack and press it firmly in place. For non-adhesive patches, use drywall compound to secure them.
- Seal and Smooth: Apply a layer of joint compound over the patch, feathering the edges to blend with the surrounding wall.
- Sand and Finish: Once dry, sand the area until smooth, then paint to match the existing wall color.
For those seeking more detailed instructions and tips for each step, consider exploring advanced guides and tips for plasterboard repair.
Advantages of Using Plasterboard Repair Patches
Plasterboard repair patches offer numerous benefits, making them a preferred choice for many homeowners and professionals:
- Quick and easy to apply, saving time and effort.
- Cost-effective compared to hiring professional repair services.
- Versatile in addressing various types of damage and wall surfaces.
- Minimal tools and materials required for application.
When to Seek Professional Help
While plasterboard repair patches are suitable for minor damage, more extensive repairs may require professional intervention. Consider consulting a professional if:
- The damage is extensive or involves structural issues.
- There is water damage or mold present, which may necessitate specialized treatment.
- Previous repair attempts have been unsuccessful.
For those considering professional services, discover expert strategies here to learn about tailored solutions for plasterboard repairs.
For additional resources and comprehensive guidance on plasterboard repair, find out more about this approach to ensure the best results for your project.